Indexing a SubQuery SDK Project
Indexing a SubQuery SDK Project
Node Operators can run SubQuery SDK Data Indexing projects, RPC projects, and Subgraphs. If you instead want to connect an RPC endpoint please follow the instructions here. Alternatively, if you want to connect a Subgraph follow the instructions here.
1. Select and Add a Project
Inside your Node Operator Admin App (usually this is http://localhost:8000/ depending on your installation), the Projects tab appears at the top of the page. This enables Node Operators to add projects of their choice to their Node Operator profile.
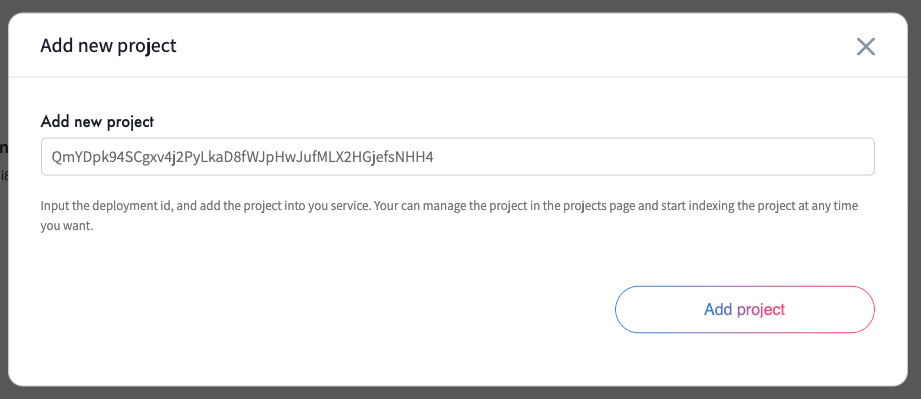
Before clicking Add Project, you will need to obtain the project's deployment ID. If the project has already been deployed and indexed by other Node Operators, you will be able to obtain the project’s Deployment ID from the SubQuery Explorer.
Enter the project deployment ID when adding the new project.
When a project is successfully added, the following default Flex plan will be automatically created:
| item | default value |
|---|---|
| price | 1.0 SQT/1000 reqeusts |
| maximum validity period | 14 days |
After confirming the project details, press Next to configure the project.
2. Configure Project
There are two different approaches to hosting your SubQuery Indexing SDK project. System Managed, and User Managed
System Managed
This is the default way where the SubQuery indexer service will manage the running and deployment of a SubQuery project on the same VM using Docker.
When deploying a System Managed project you will need to provide an indexing endpoint, this endpoint must be a non-pruned archive node. Public nodes may be rate limited, which can affect indexing speed. When indexing your project we suggest getting a private API key to avoid being rate limited.
Public RPC Endpoints may be rate limited which can affect indexing speed, when indexing your project we suggest getting a private API key. You can retrieve endpoints for some networks for free from SubQuery Network itself.
Select the Indexer Version and Query Version (latest recommended)
User Managed
For user managed project you run your own SubQuery Indexer on a different VM. This can give you more flexibility on how you run the project and how your manage the database connected to the project.
You need to provide the IP addresses for the Node endpoint and the query endpoint, and ensure that the services can be connected to and are functioning properly.
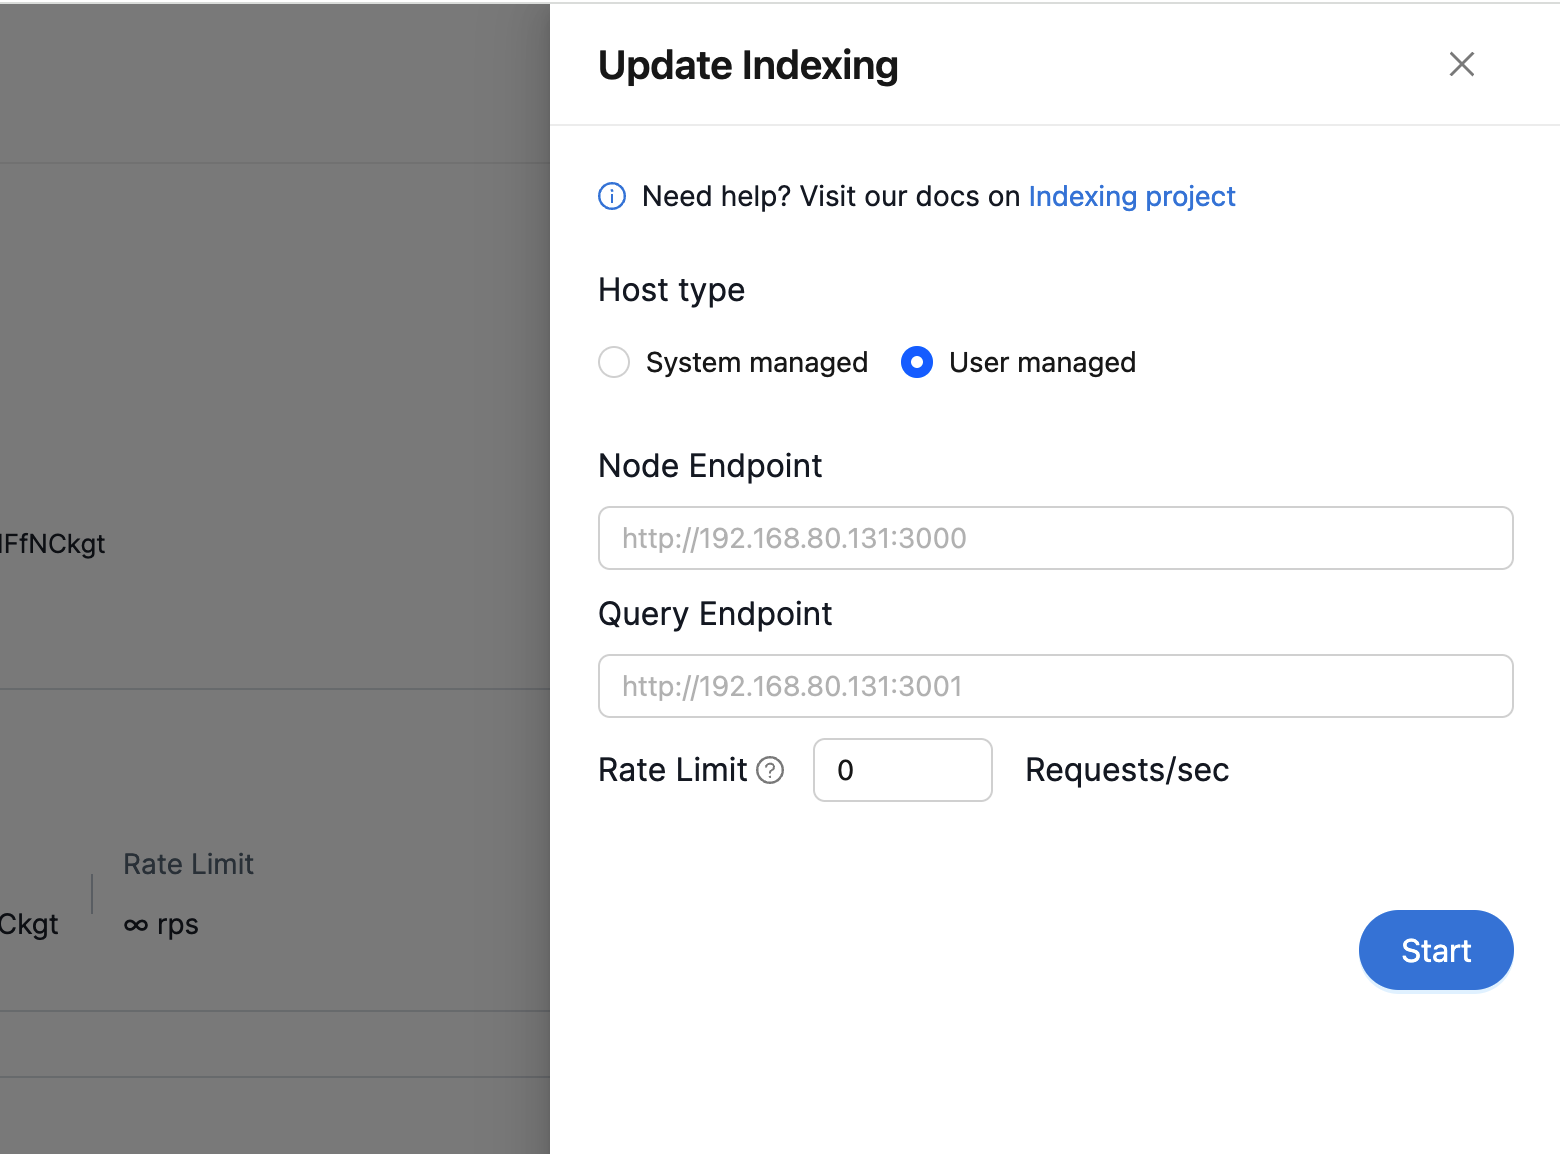
Then press Start to start the node and query service for this project in the coordinator service.
Once the services are started, the service information will be displayed such as the Indexer Service and Query Endpoint status, and the Indexing Status. The Node Operator can then check the service log to see the indexing details:
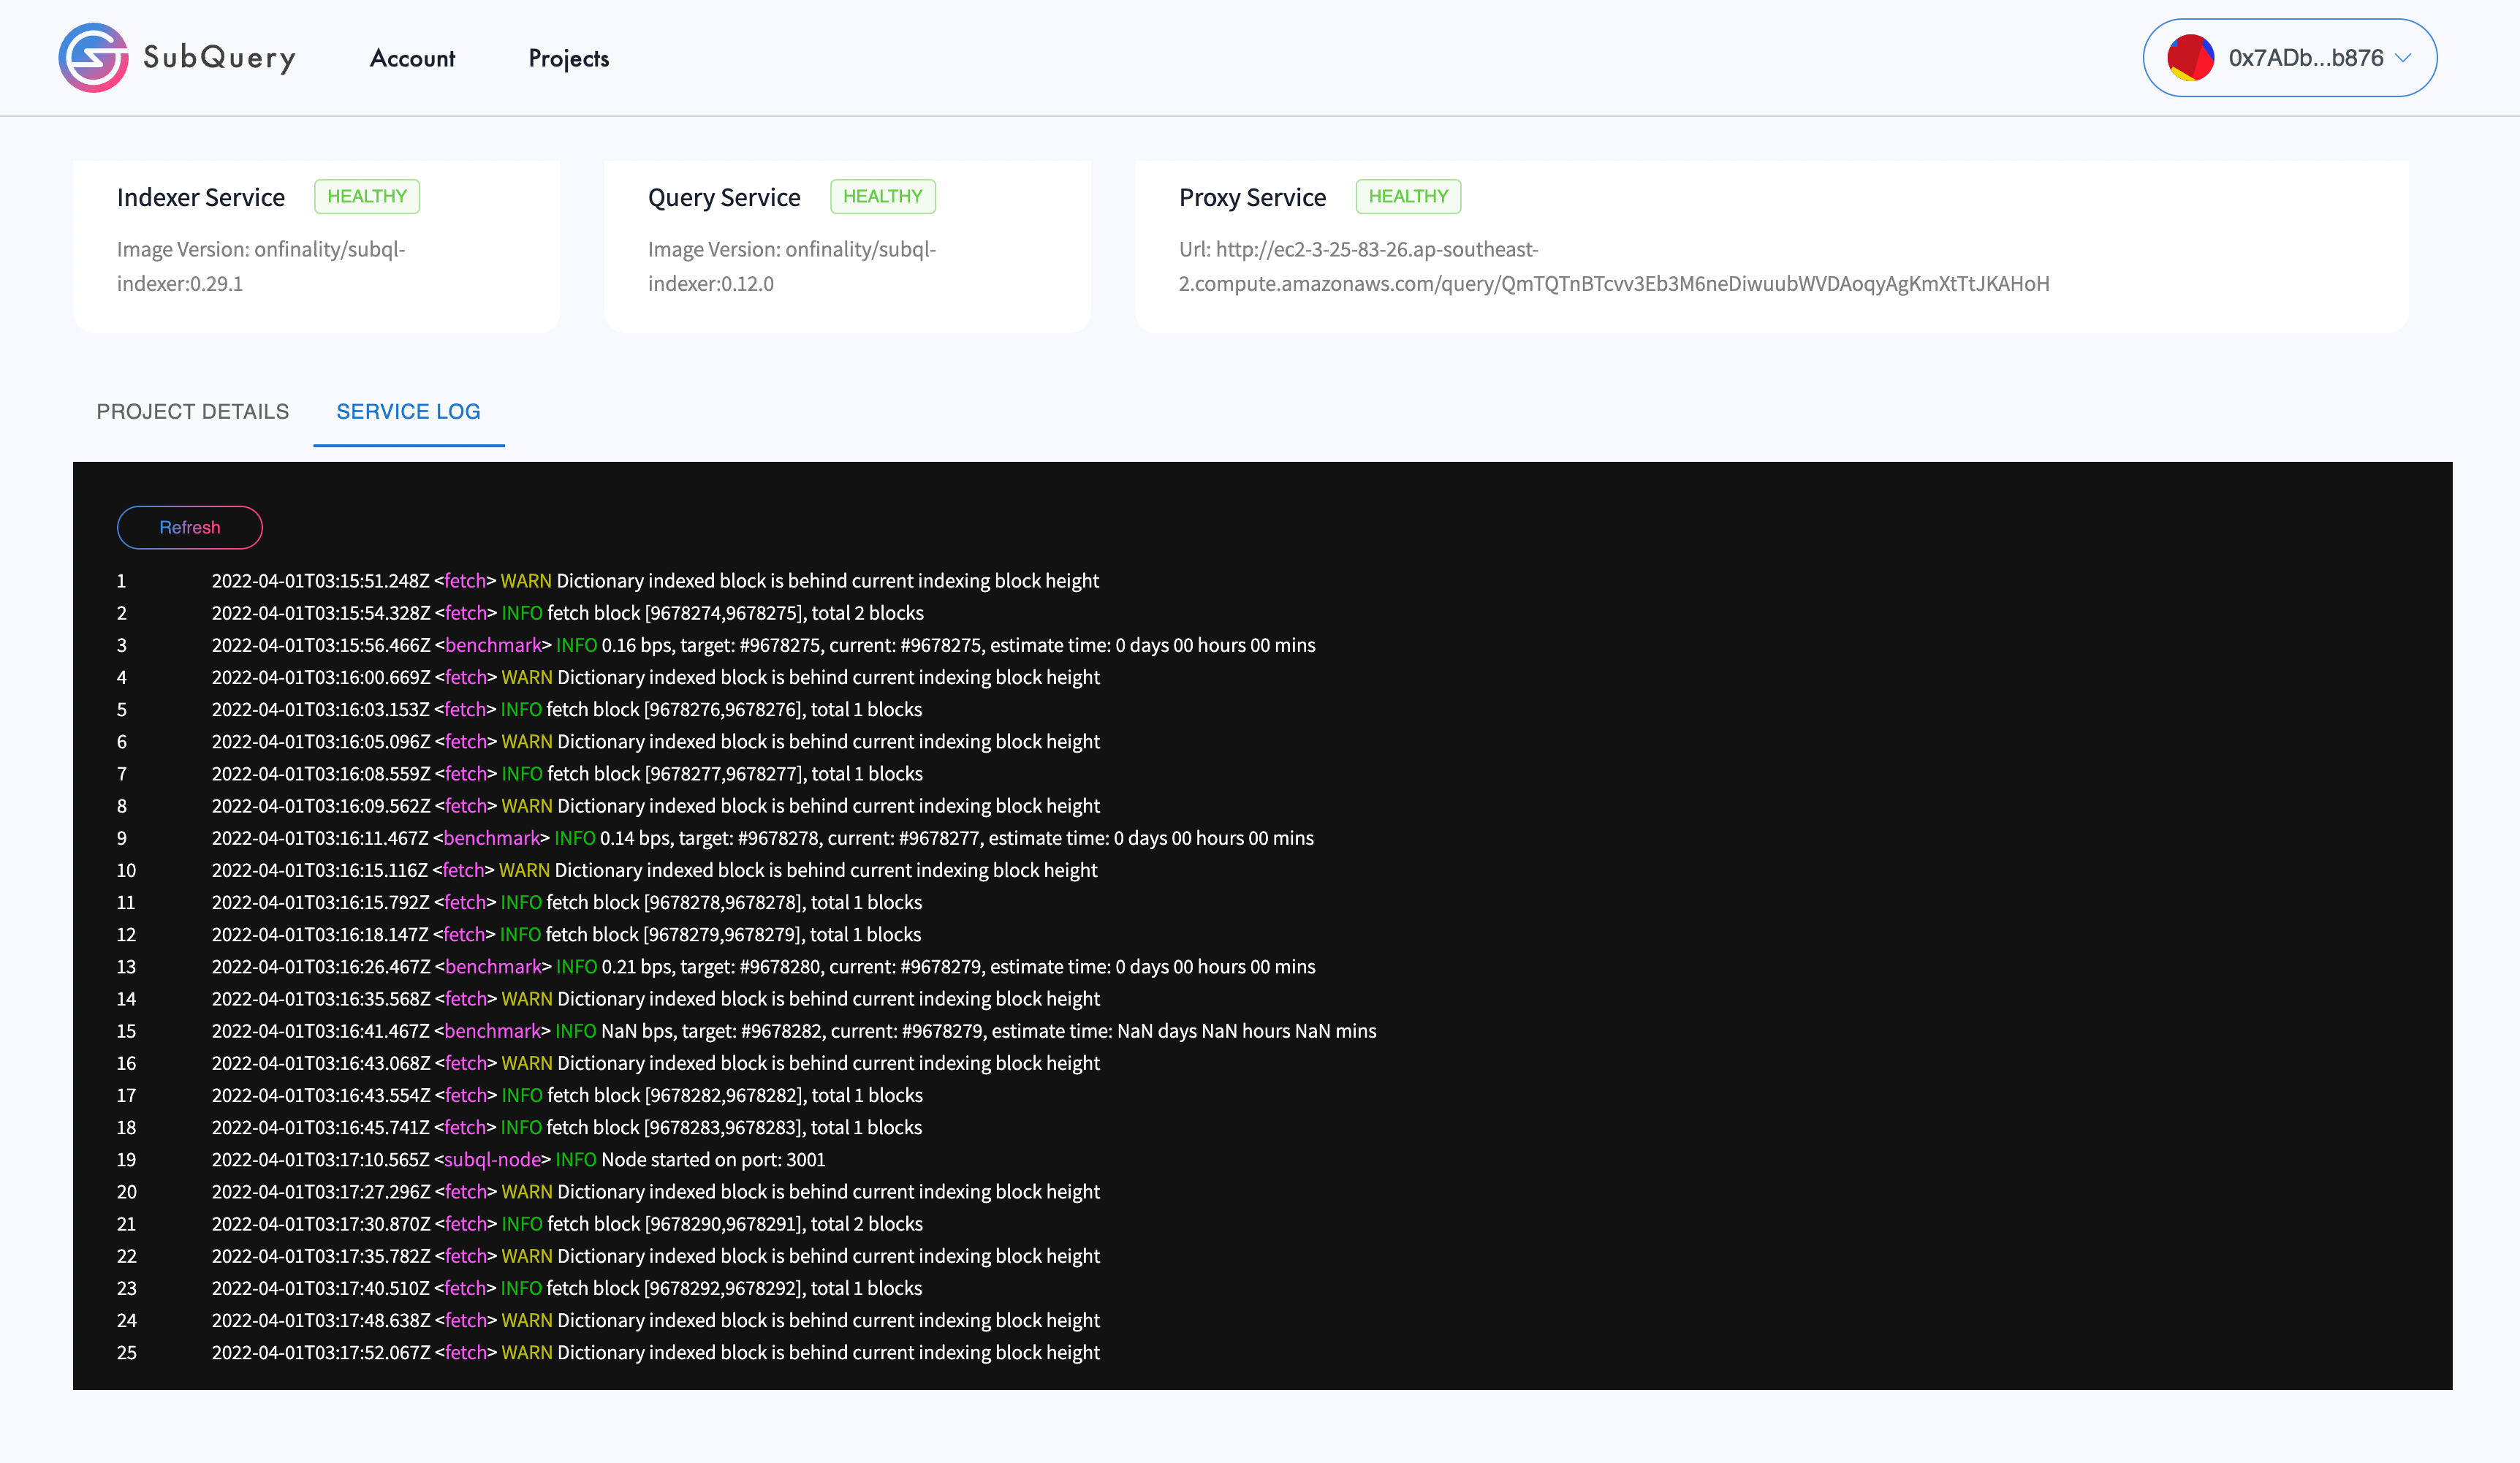
You have successfully started Indexing. Next we need to get our project online on the SubQuery Network. Let’s dig in further.
3. Go Online
For a brand new project, the project status will be Offline.
Once the project has finished indexing, you should mark it as online so that the Network knows that you are running the project. The network will then start to distribute requests to the Node Operator's project deployment.
Select the Go Online button and send a transaction.
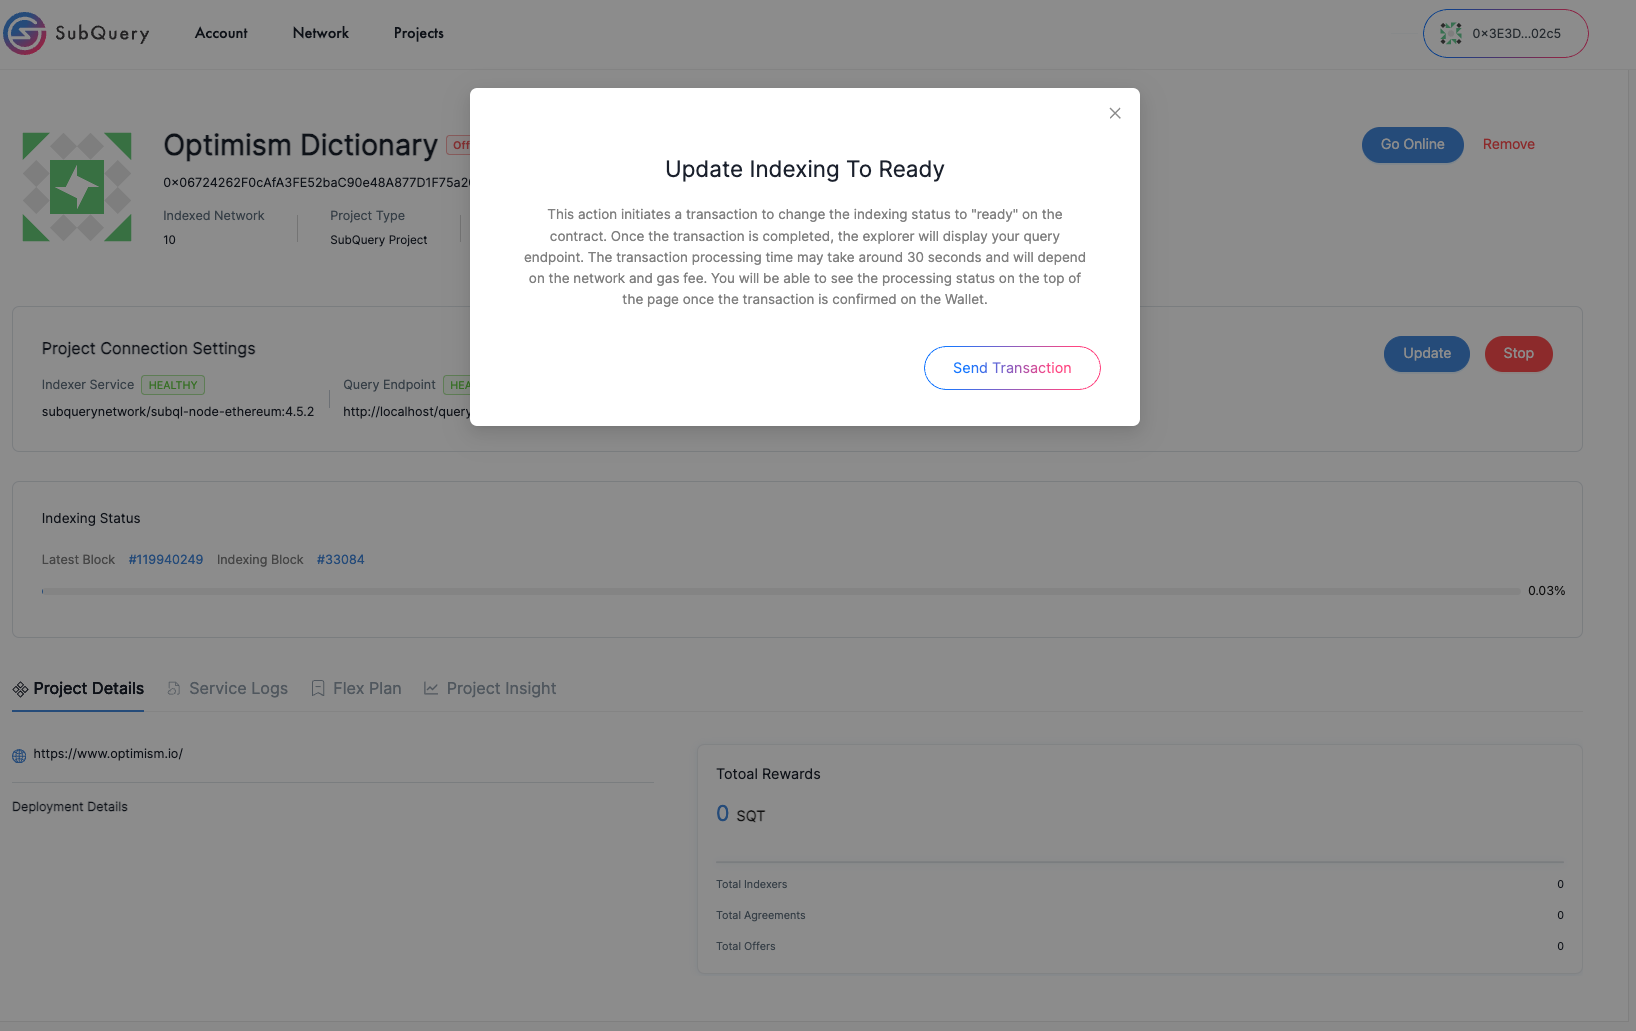
Note: Your controller account will need balance to complete the transaction.
After the transaction is processed, the project's status will change to Online. Now, you can:
Updatethe project with a new network endpoint and configuration.Stopto stop indexing the project and prepare for removal.Go Offlineto inform the Network that this project isn't available.

4 Allocate SQT to the Project and Monitor
To earn Network Allocation Rewards for your project, you should immediately allocate SQT to your new project. Please follow the guide here.
On the Network app, the Node Operator can check the era information and confirm that the reward collection is up-to-date. The service log component provides the logs for the coordinator service.
Monitor your eligibility for rewards from the Admin Portal, if your node is out of sync or not reachable, you may not receive rewards.
Congratulations! You have successfully indexed your SubQuery Project.
- If you encounter any trouble while running the Node Operator service, please visit Troubleshooting) and find all your solutions in one place.
- Find the list of FAQs, and resolve your query.
5. Other Actions
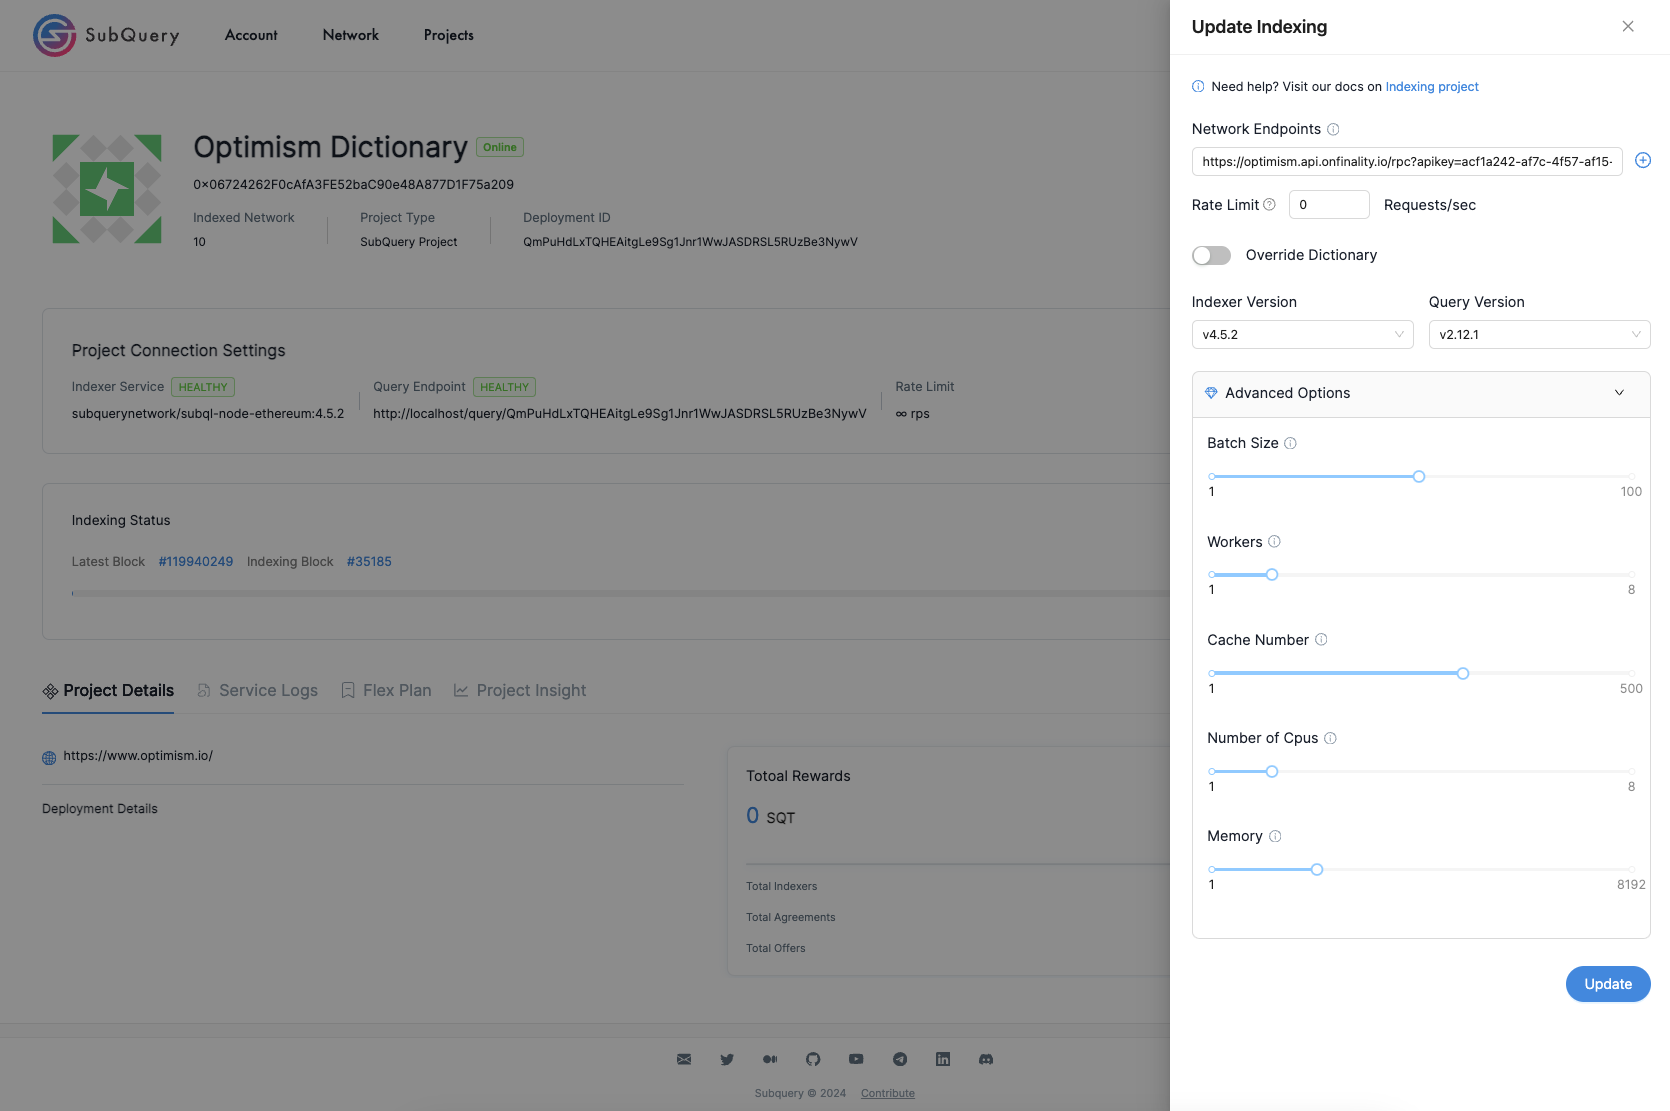
5.1 Updating a Project
Update the project if you want to change the network endpoint, network dictionary, or image versions. This will restart the project.
5.2 Stop Indexing the Project
When you stop indexing the project the node and query service will be terminated on the coordinator service side.
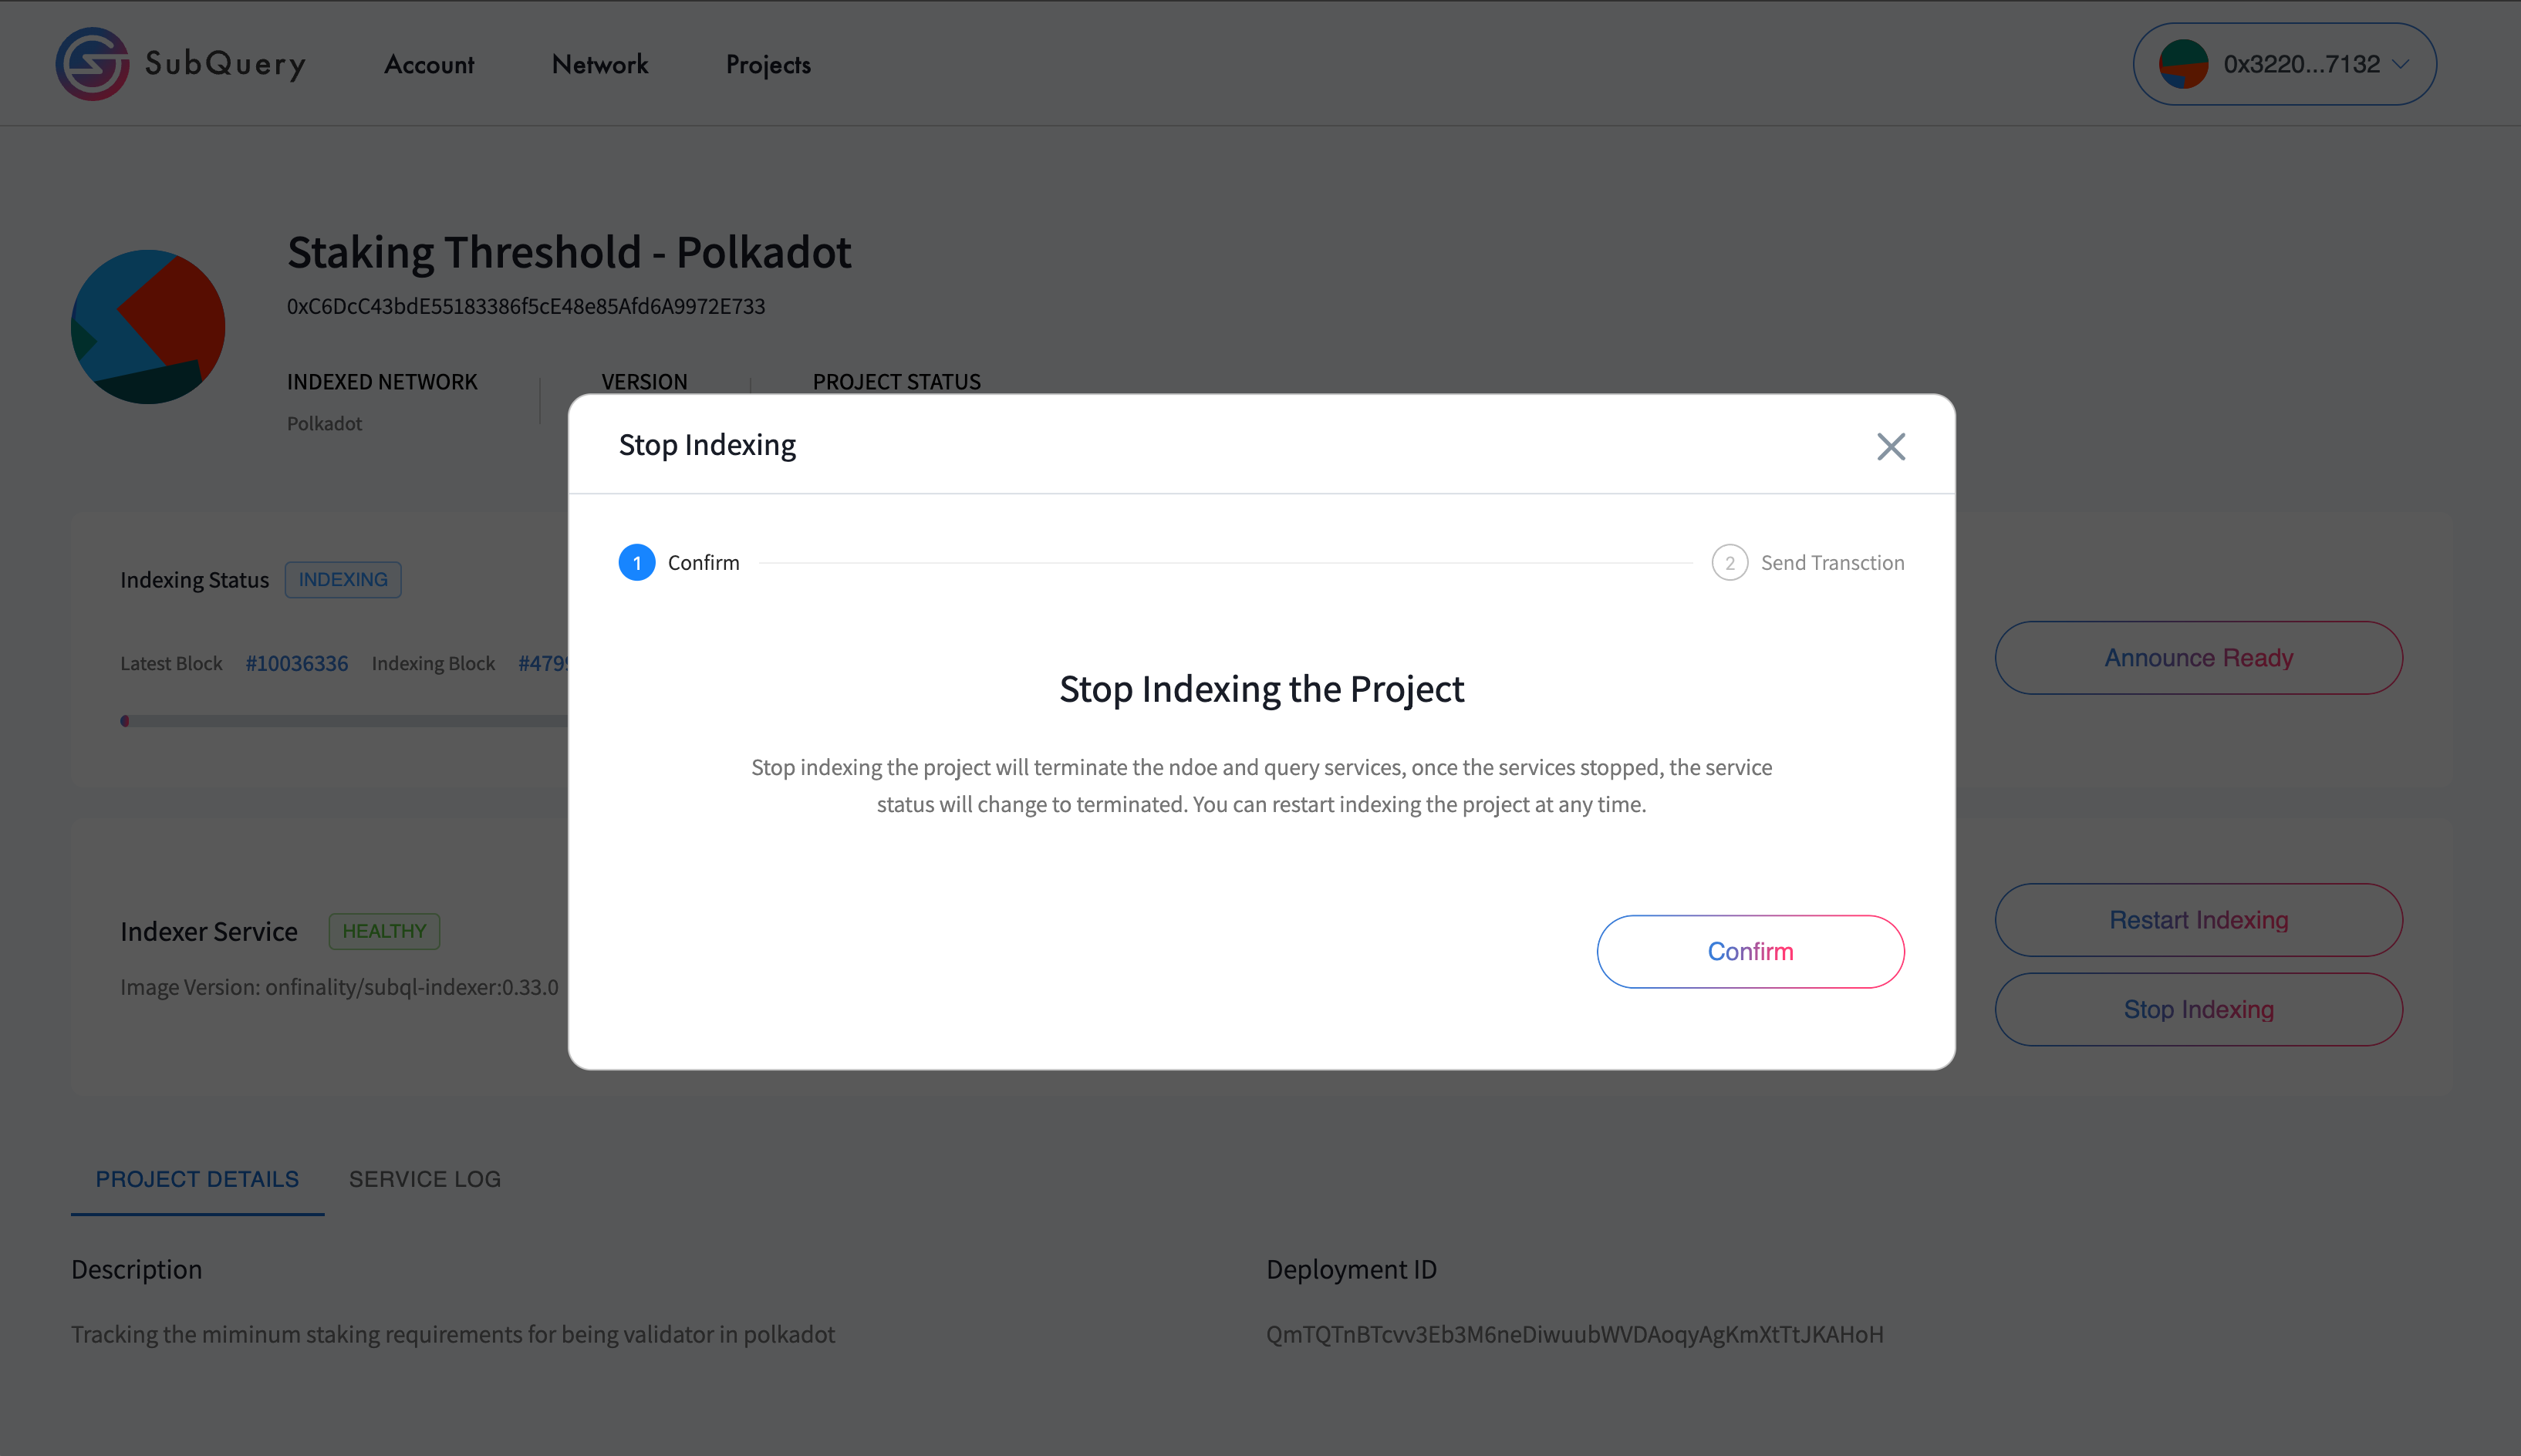
After the status changes to TERMINATED you can remove the project.
Note: You can start re-indexing the project at any time after stopping the project.
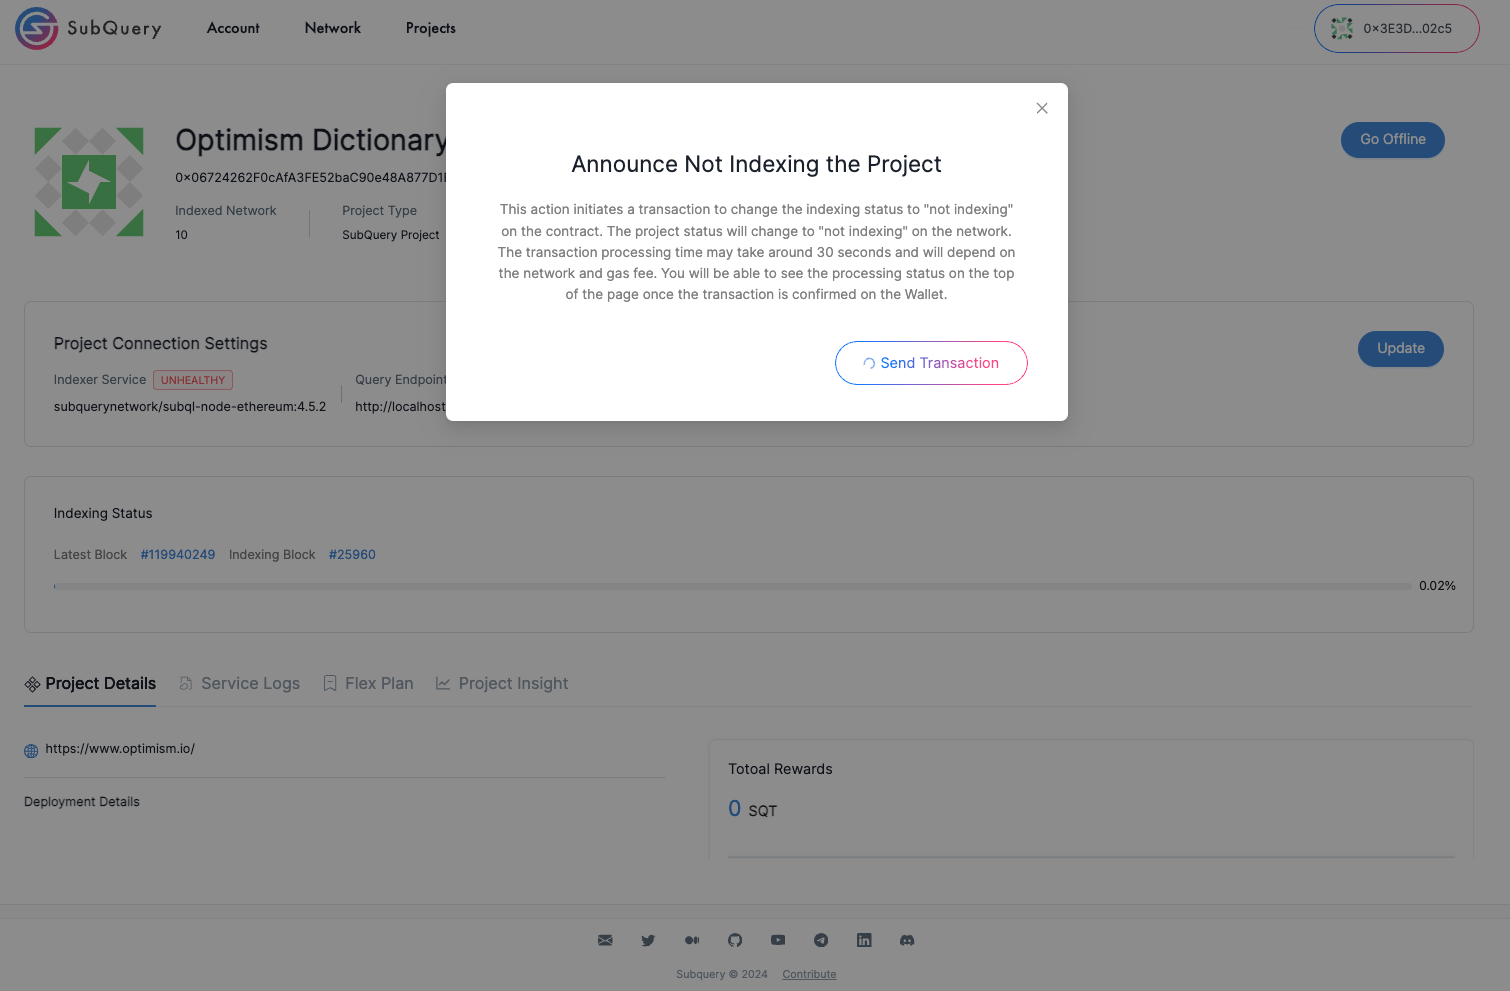
5.3 Go Offline
Go Offline to tell the Network that your project is not available for queries, or has been stopped.
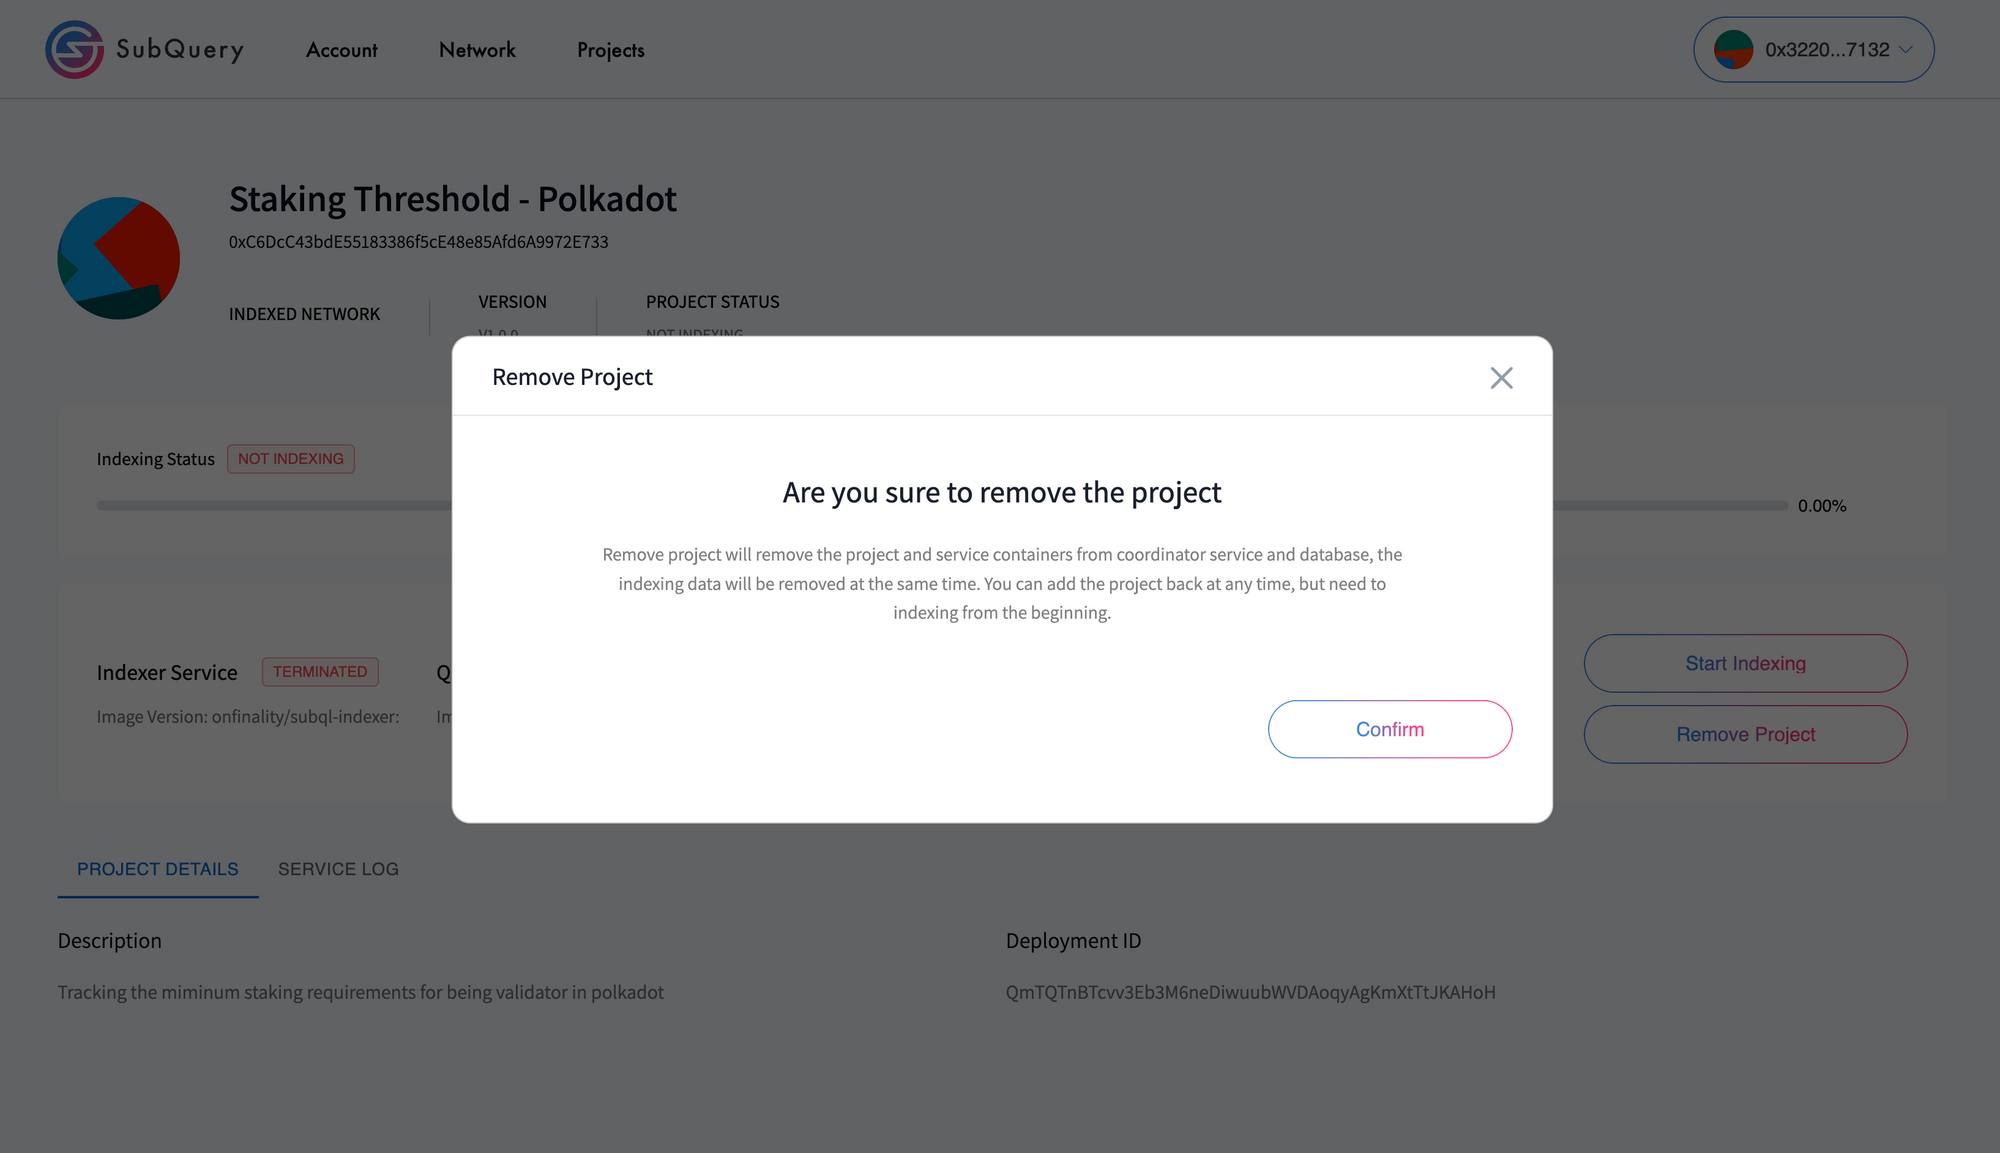
5.4 Removing a Project
You can remove the project from the service if a project is not required anymore. Stop the project and Go Offline first.